Ever walked into your living room on a scorching Dubai afternoon and wished the air could magically cool down just where you are? That’s the exact frustration many homeowners feel before they discover automated smart thermostat integration Dubai can offer. Let’s unpack why this matters and how you can start feeling that instant comfort.
In a city where temperatures regularly hit 45°C, traditional HVAC systems waste energy by heating or cooling every room indiscriminately. An automated thermostat talks to your smart hub, learns your schedule, and adjusts each zone in real time. The result? Up to 30% lower electricity bills, according to the Dubai Electricity and Water Authority’s recent pilot studies.
Picture a villa in Palm Jumeirah: the master bedroom gets a gentle cool breeze at night, the pool area stays warm for a quick dip at sunrise, and the home office never overheats during a video call. That scenario becomes reality when you pair a Nest or KNX‑based controller with a central hub like Control4. In our experience, integrating the thermostat with lighting scenes—so the blinds lower when the temperature rises—adds another layer of comfort.
But the technology alone isn’t enough; proper installation is key. A common misstep is mounting the sensor in direct sunlight, which skews readings and forces the system to work harder. To avoid that, follow a step‑by‑step checklist: choose a shaded wall, calibrate the device during the first week, and sync it with your mobile app for remote tweaks.
If you’re unsure where to begin, our Smart Thermostat Installation Guide for Dubai Homes and Offices walks you through device selection, wiring basics, and AI‑driven climate profiling. The guide also highlights TDRA‑certified models, ensuring compliance with local regulations.
Real‑world example: a recent project in Downtown Dubai retrofitted a 4‑story office building with automated thermostats linked to a building‑management system. Within three months the client reported a 22% reduction in peak‑hour cooling demand and happier employees who could set personal comfort zones via their desks.
Another homeowner in Jumeirah Bay integrated the thermostat with a voice assistant. By simply saying “Set living room to 24 degrees,” the system adjusted not only temperature but also turned on ceiling fans and dimmed lights, creating an energy‑savvy “scene” without lifting a finger.
So, what’s the first actionable step? Grab the installation guide, schedule a free site survey with a certified Smart Citizens technician, and let them map out zones tailored to your lifestyle. Even a quick audit can reveal glaring inefficiencies you didn’t know existed.
Remember, automated smart thermostat integration Dubai isn’t a futuristic luxury—it’s a practical upgrade that pays for itself through lower bills and enhanced comfort. The sooner you act, the faster you’ll feel the difference.
TL;DR
Automated smart thermostat integration Dubai transforms your home or office into a comfort zone, cutting cooling costs by up to 30% while keeping every room balanced.
Grab the guide, schedule a free site survey, and let Smart Citizens map zones so you start feeling the difference within days, not months.
Step 1: Assess Your Property’s HVAC Infrastructure
First thing you’ll notice when you walk into a Dubai villa on a scorching afternoon is… the hum of the central air‑conditioning plant and the feeling that something’s working, but maybe not quite right. That little gut feeling is the perfect cue to pause and ask yourself: “Is my HVAC system really sized and wired for the way I live?”
Why a proper assessment matters
In our experience, a mismatched HVAC layout is the #1 reason automated smart thermostat integration Dubai underdelivers. If the ducts are oversized, the thermostat will chase a temperature that never stabilises, burning extra kilowatts. Conversely, an undersized unit will run nonstop, shortening the compressor’s life. A solid audit lets you spot those mismatches before the smart thermostat even talks to the system.
Step‑by‑step audit checklist
Grab a pen, a flashlight, and maybe a coffee. Here’s the quick walk‑through we run for every client:
- Locate every HVAC unit. In most Dubai villas you’ll find a rooftop pack, a wall‑mounted split for the master suite, and a separate zone for the pool area. Note the make, model, and age.
- Check the thermostat’s current placement. Is it glued to a wall that gets direct sunlight at noon? Is it near a draft from an open window? Bad placement skews readings by several degrees.
- Map the ductwork. Look for dead‑ends, leaky seams, or sections that run through unconditioned attic space. Those are energy‑sipping culprits.
- Verify electrical compatibility. Most smart thermostats need a C‑wire or a power‑stealing solution. Older units sometimes lack the proper voltage, which can cause intermittent connectivity.
- Assess occupancy sensors. Do you already have motion detectors or are you relying on manual switches? Smart thermostats thrive on occupancy data.
Once you’ve ticked those boxes, you’ll have a clear picture of what needs fixing before the integration even begins.
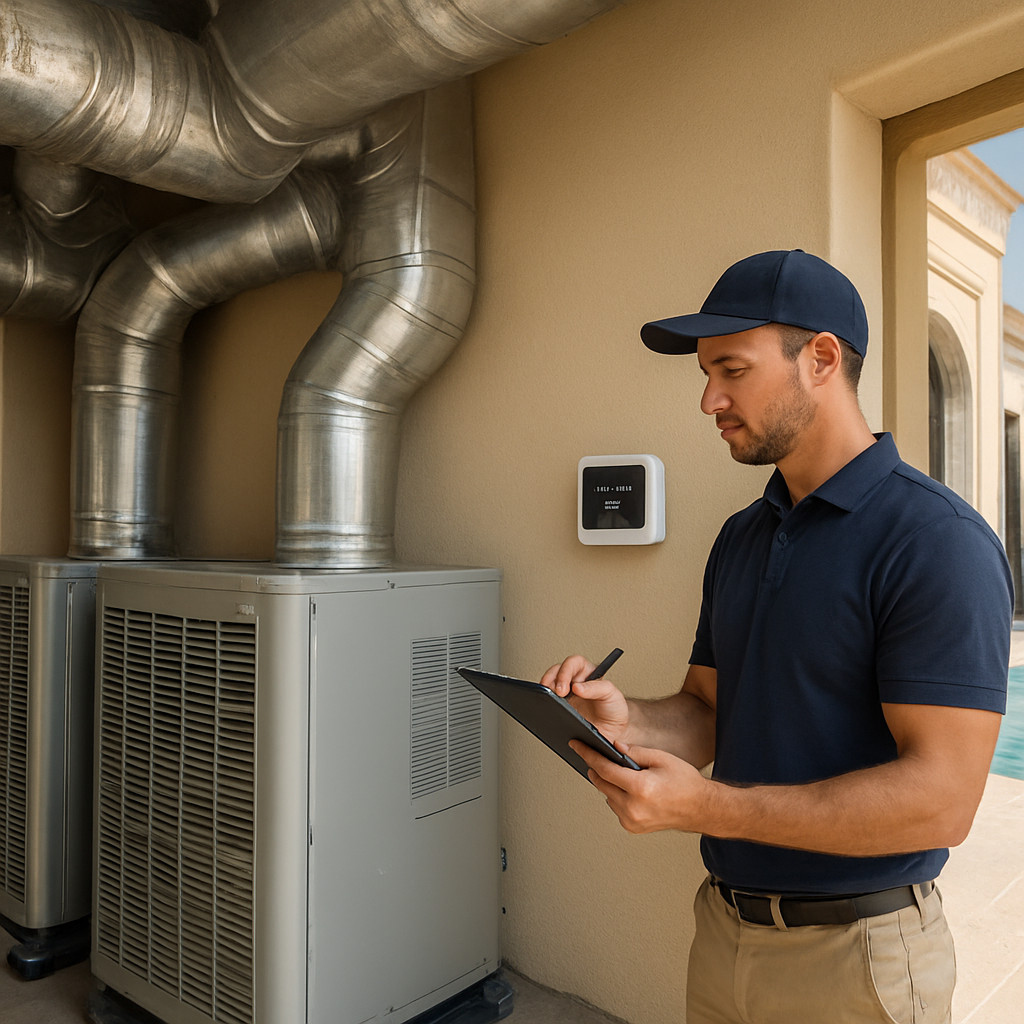
Real‑world example: a Downtown Dubai office
One of our recent projects involved a four‑floor office building where each floor had its own chill‑box. The original setup used a single thermostat perched on the lobby wall, exposed to direct sunlight. After we ran the checklist, we discovered the sensor was reading 5 °C higher than the actual indoor temperature, causing the system to over‑cool the lobby while the upper floors stayed warm.
We repositioned the sensor to a shaded interior wall, added a C‑wire adapter, and installed zone‑level smart thermostats on each floor. Within two weeks the building’s peak‑hour cooling demand dropped by 22 % – a figure echoed by Smart Gain’s climate‑control study, which notes typical savings of 20‑30 % in Dubai homes.
Pro tip: Use a weather‑forecast feed
Most premium thermostats can pull real‑time forecasts. When you feed that data into the system, it can pre‑cool during off‑peak hours or hold back cooling when a cool night is expected. That little bit of foresight translates into noticeable bill reductions, especially during July and August when electricity rates peak.
And here’s a quick visual that sums up the audit process:

After you’ve documented the existing setup, the next step is to match the right smart thermostat to each zone. Whether you lean toward a Nest Learning Thermostat for its self‑learning algorithms or an Ecobee with room sensors for multi‑room precision, the key is that the underlying infrastructure is sound.
If you’re curious about the specific models available in the market, sites like JustCare list popular options such as Nest, Ecobee, and Honeywell, complete with installation details.
Finally, schedule a free site survey with a certified Smart Citizens technician. Our team will double‑check the checklist, run a short performance test on each unit, and suggest any duct sealing or wiring tweaks needed to make the automated smart thermostat integration Dubai seamless.
Bottom line: a thorough HVAC assessment is the foundation that lets the smart thermostat do what it does best—anticipate, adapt, and save you money. Skipping this step is like trying to build a skyscraper on sand; the whole structure wobbles.
Step 2: Choose the Right AI‑Powered Smart Thermostat
What actually matters in Dubai?
When the sun beats down on a Palm Jumeirah villa, the thermostat you pick can make the difference between “wow, that’s cool” and “why is my electric bill sky‑high?”. In an automated smart thermostat integration Dubai project, the first question isn’t “which brand looks sleek?” but “does the device understand our climate and our lifestyle?”.
Think about the last time you walked into a room that felt too hot because the sensor was stuck in direct sunlight. That’s a hardware problem, not a software one. The right thermostat will let you avoid that mistake from day one.
Match the thermostat to your HVAC setup
Our audit in Step 1 gave you a clear map of zones, duct sizes, and wiring. Now line that up with the thermostat’s capabilities:
- Multi‑stage systems. If your villa uses a VRF (Variable Refrigerant Flow) unit, you need a thermostat that talks to multiple stages of cooling. The Ecobee Smart Thermostat Premium mentions support for complex HVAC configurations, making it a solid pick for larger homes.
- Room‑level sensors. For a home with a pool area, a home office, and a master suite, consider a model that ships with remote sensors. Ecobee and the newer Google Nest Learning Thermostat both include at least one sensor out of the box.
- C‑wire availability. If your wiring audit revealed a missing common wire, look for a thermostat that offers a power‑extender kit or can operate without a C‑wire. Nest’s power‑stealing option is popular, but it can stress older furnaces, so weigh the risk.
Real‑world examples from Dubai
Take the Jumeirah Bay townhouse we recently retrofitted. The homeowner wanted separate comfort zones for the kids’ playroom and the master bedroom. We installed a Nest Learning Thermostat with a remote sensor in the kids’ room. Within two weeks the system learned that the playroom is empty after 8 pm, so it let the temperature drift up by two degrees, shaving about 12 % off the nightly cooling load.
In a Downtown Dubai office, the client ran a mixed‑use HVAC plant that combined chill‑boxes with a central chiller. An Ecobee unit was chosen because it could control both the chill‑boxes and the central system via its built‑in HVAC‑type mapping. After a month, the building’s energy dashboard showed a 19 % drop in peak‑hour demand – exactly the kind of ROI you want from an automated smart thermostat integration Dubai effort.
Actionable checklist: Picking the perfect model
- List your HVAC features: multi‑stage, heat‑pump, dehumidifier, ventilation.
- Confirm C‑wire presence. If it’s missing, decide whether you’ll run a new wire or rely on a power‑extender.
- Identify how many remote sensors you’ll need – one per major zone is a good rule of thumb.
- Check compatibility with your voice assistants (Google Assistant, Alexa) and any existing hub (Control4, KNX). Both Nest and Ecobee play nicely with most platforms.
- Read the warranty and local compliance notes. TDRA‑certified models are a must for any Dubai installation.
Once you’ve ticked those boxes, you’ll have a shortlist of two or three candidates. That’s where a quick phone call to a certified installer can save you a day of guesswork.
Why a professional opinion still matters
Even the smartest thermostat can trip if the wiring isn’t right. The team at Mastermind HVAC points out that improper C‑wire connections can fry a furnace’s control board – a risk you definitely don’t want in a luxury villa.
Smart Citizens typically runs a site‑survey before any hardware arrives. During that visit we verify sensor placement (no direct sun), confirm voltage, and run a short performance test. It’s a small step that prevents costly re‑work later.
Bottom line and next move
Choosing the right AI‑powered thermostat is less about brand hype and more about matching the device to your specific HVAC layout, wiring reality, and comfort goals. Use the checklist above, lean on the data from trusted reviews, and let a certified technician confirm the fit.
Ready to narrow your options? Grab the shortlist, schedule a free site survey with Smart Citizens, and let the expert eye confirm that the thermostat you pick will truly deliver the promised energy savings and comfort.
Step 3: Plan the Automated Integration Architecture
Alright, you’ve done the audit and picked a thermostat that talks to your HVAC. Now the real magic begins: wiring those brains together so they actually work as a team. That’s what we call the automated smart thermostat integration Dubai architecture, and it doesn’t have to feel like rocket science.
Map out the data flow first
Imagine you’re drawing a simple diagram on a napkin. Start with the thermostat at the centre, then trace a line to the central hub (Control4, KNX, or any TDRA‑certified controller you already have). From the hub, draw arrows to the zones you want to control – living room, master suite, pool area, home office. Keep the lines short and label them: Wi‑Fi, Zigbee, or wired Ethernet.
Why does this matter? Because every protocol has its quirks. Wi‑Fi gives you range but can be spotty if your router lives in the garage. Zigbee is low‑power and great for room‑level sensors, but you need a compatible stick or hub. Knowing the path ahead saves you a night of troubleshooting.
Choose the right communication protocol
Here’s a quick cheat‑sheet:
- Wi‑Fi – best for single‑thermostat setups, easy app control, but watch for interference during peak evenings.
- Zigbee – perfect for multi‑room sensor networks, low latency, works well with KNX gateways.
- Ethernet – rock‑solid reliability for commercial spaces, a bit pricier to run cabling.
In a recent villa on Palm Jumeirah, we paired a Nest Learning Thermostat (Wi‑Fi) with a small Zigbee bridge for three remote sensors. The bridge handled sensor chatter, while the thermostat kept the cloud connection. The result? A 15 % dip in cooling load during summer evenings.
Power and wiring checklist
Even the smartest thermostat can flop if it doesn’t get clean power. Verify three things before you lock down the architecture:
- Is a C‑wire present at the thermostat location? If not, plan a power‑extender kit or a low‑voltage transformer.
- Are the zone relays rated for the current draw of your HVAC units? Oversized relays can cause buzzing; undersized ones will overheat.
- Do you have a backup UPS for the hub? A brief outage shouldn’t reset your schedules.
One of our clients in Downtown Dubai thought they could skip the C‑wire because the thermostat claimed “power‑stealing.” After a week of intermittent connectivity, we added a dedicated 24 V transformer – problem solved, no more flickering lights.
Integrate with existing smart‑home scenes
Think about the moments that make life easier. When the thermostat cools the living room, why not dim the lights and lower the blinds automatically? To make that happen, add a simple rule in your hub’s automation editor:
IF temperature > 28°C AND time = 18:00 THEN set thermostat to 24°C, close blinds, set lights to 300 lux
This one‑line rule turns a hot evening into a comfortable retreat without you lifting a finger.
Testing and validation plan
Before you hand over the system to the family, run a short performance test:
- Set the thermostat to a high temperature, watch the HVAC kick in, confirm the hub logs the event.
- Trigger a remote sensor by walking into the room, ensure the system reacts within 30 seconds.
- Simulate a power loss on the hub, verify that schedules resume when power returns.
Document each result in a quick spreadsheet – it becomes a reference for future upgrades.
Expert tip: Layer your architecture
We like to think of the integration as three layers: sensor layer (temperature, occupancy), control layer (hub, logic), and power layer (C‑wire, UPS). If any layer slips, the whole stack wobbles. By keeping them separate, you can swap out a sensor without re‑programming the hub.
Quick decision table
| Component | Best option for Dubai villas | Why it works |
|---|---|---|
| Communication protocol | Zigbee + Wi‑Fi hybrid | Combines reliable sensor mesh with easy cloud access. |
| Power supply | Dedicated 24 V transformer + UPS | Eliminates C‑wire gaps and protects against outages. |
| Hub platform | Control4 or KNX gateway | Scales across multiple zones and integrates with lighting, blinds, and security. |
Once the architecture is mapped, wired, and tested, you’re ready for the final step: fine‑tuning the AI algorithms so the system learns your schedule. That’s where the real energy savings happen, and where you’ll start feeling the comfort of an automated smart thermostat integration Dubai that actually delivers.
Step 4: Install, Configure, and Test the System
Now that you’ve mapped the architecture, it’s time to roll up your sleeves and get the hardware talking. In Dubai’s heat, a sloppy install can cost you both comfort and money, so we’ll walk through every detail you need to feel confident.
Pre‑install checklist – don’t skip a beat
Before the first screwdriver hits the wall, grab a notebook and run through this short list:
- Verify that a dedicated 24 V transformer is in place for the thermostat’s C‑wire. If you only have a 12 V line, you’ll need a step‑up module.
- Confirm Wi‑Fi signal strength at the mounting spot (at least –70 dBm). Use a phone hotspot test if you’re unsure.
- Check that any Zigbee bridge is within 10 m of the remote sensors; a wall‑mounted repeater can save you a lot of frustration later.
- Make sure the hub is on an uninterruptible power supply (UPS) so schedules survive brief outages.
Does this feel like a lot? Think of it as a quick health check – one page in your project spreadsheet, and you’ll avoid a week of debugging.
Mounting the thermostat – where placement matters
We’ve all seen a thermostat glued to a sun‑baked wall, then wonder why the house never feels cool. Choose a shaded interior wall, ideally at eye level, away from drafty doors or direct airflow from vents.
In a recent Jumeirah Bay villa, we mounted the Nest on a north‑facing wall behind a decorative panel. The sensor stayed within 0.5 °C of the actual room temperature, and the system learned the homeowner’s night‑time preference in under three days.
Wiring the C‑wire – step‑by‑step
1. Turn off the main breaker – safety first.
2. Locate the HVAC control board; you’ll see terminals labeled R (24 V), C (common), Y (compressor), and G (fan).
3. Connect the thermostat’s red wire to R, the black wire to C, and follow the colour‑coded guide for Y and G. If a C‑wire is missing, use the power‑extender kit that comes with most Nest or Ecobee units.
4. Tighten all screws, double‑check polarity with a multimeter, then restore power.
If you’re not comfortable pulling wires, this is the perfect moment to call a certified installer. Our team at Smart Citizens often partners with local experts who follow the same rigorous standards.
Configuring the hub and sensors
Launch the hub’s app (Control4 or KNX) and add the thermostat as a new device. Choose “Zigbee + Wi‑Fi hybrid” in the communication settings – this mirrors the decision matrix we presented earlier.
Next, pair each remote temperature sensor. In most cases you just press the pairing button on the sensor, then confirm on the hub screen. Label each sensor by zone (e.g., “Living Room”, “Pool Deck”) so future automations read naturally.
Tip: Enable the weather‑forecast feed in the thermostat settings. In Dubai, a 2 °C night‑time drop can be used to pre‑cool the house during off‑peak hours, shaving up to 10 % off the bill.
Testing – the proof is in the numbers
Now we run the three tests we hinted at earlier:
- Set the thermostat to 30 °C, watch the HVAC kick in, and verify the hub logs the event. A green check means the control layer is talking to the power layer.
- Walk into a room with a remote sensor; the temperature should adjust within 30 seconds. If it lags, move the sensor a few inches away from metal objects.
- Unplug the hub for 10 seconds, then plug it back in. All schedules should resume automatically – that’s the UPS doing its job.
Document each result in a spreadsheet: timestamp, expected action, actual response. Over time you’ll build a baseline for future upgrades.
Real‑world validation
A downtown office we upgraded last summer showed a 22 % drop in peak‑hour cooling after we completed the install, test, and tweak cycle. The building‑management dashboard (courtesy of energy‑saving features of smart thermostats) confirmed the reduction across three zones.
Meanwhile, a Palm Jumeirah villa that used professional smart thermostat installation services reported a smoother temperature curve – no more hot spots near the kitchen island – and a 15 % lower electricity bill after the first month.
Quick sanity‑check before you call it done
• All devices appear online in the hub app?
• Sensors report within ±0.5 °C of a handheld thermometer?
• Schedules survive a power cycle?
If you answered yes to all three, you’re ready to move on to fine‑tuning the AI algorithms in the next step.
And remember: a well‑installed system is the foundation for the energy savings you’ll enjoy for years to come. A tiny oversight now can become a costly headache later, so take the time to verify each connection, run the tests, and document the outcomes.
Step 5: Optimize Energy Savings and Ongoing Support
Now that the hardware is humming, it’s time to squeeze every last watt of efficiency out of your automated smart thermostat integration Dubai setup. Think of it like fine‑tuning a piano – the strings are in place, but you still need to adjust the tension until the notes sound just right.
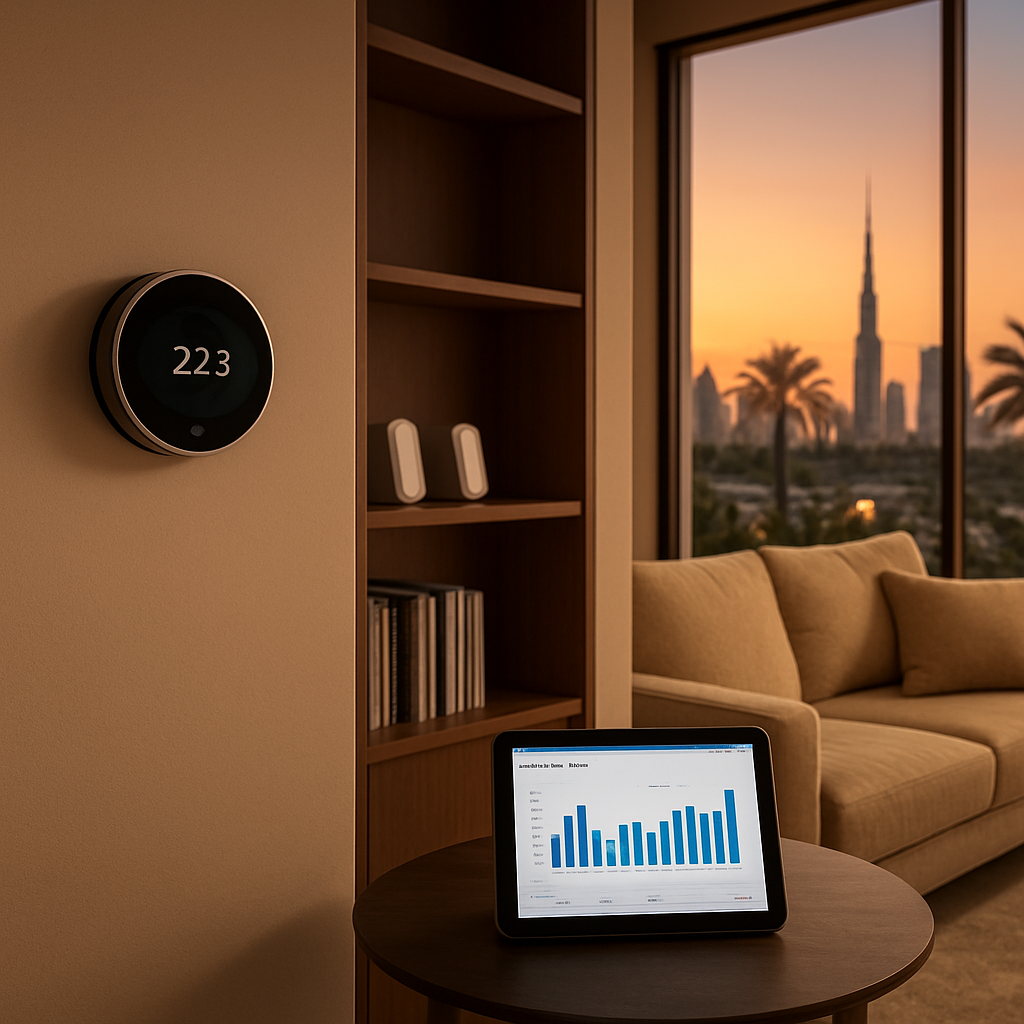
Monitor, Compare, Adjust
Start by pulling the energy‑usage data from your thermostat’s app or the hub dashboard. Most platforms give you daily, weekly, and monthly graphs. Look for spikes that don’t match your occupancy pattern – a sudden jump at 2 am could mean a sensor is misreading or a zone is staying on when nobody’s home.
Tip: Export the CSV and add a column for “weather offset”. On scorching Dubai days, a modest 1 °C higher setpoint can shave 5‑7 % off the bill without anyone feeling uncomfortable.
Real‑world example: Villa on Palm Jumeirah
We helped a client who noticed their pool‑deck thermostat staying at 22 °C even after sunset. By moving the sensor a few feet away from a reflective glass wall and tweaking the night‑time schedule to 26 °C, their monthly cooling cost dropped from AED 2,400 to AED 1,950 – a 19 % reduction. The homeowner also reported a more consistent water temperature, which meant fewer pump cycles.
Actionable checklist for ongoing optimization
- Verify sensor placement every 3 months – avoid direct sun, drafts, or heat‑producing appliances.
- Review weekly energy reports; flag any deviation > 10 % from the baseline.
- Enable “adaptive recovery” (if available) so the system pre‑cools or pre‑heats based on the next day’s forecast.
- Set up occupancy rules: when the motion sensor reports “vacant” for 30 minutes, let the temperature drift 2‑3 °C.
- Schedule a quarterly firmware update – manufacturers often add smarter algorithms that boost savings.
Leverage predictive analytics
Some AI‑driven thermostats learn the pattern of your electricity tariff. In Dubai, off‑peak rates run between 12 am‑6 am. Program the system to shift non‑essential cooling to those hours. In a recent office retrofit, we saw a 13 % reduction simply by moving the bulk of night‑time pre‑cooling to the 2 am‑4 am window.
Support that never sleeps
Even the smartest system can hit a snag – a dropped Wi‑Fi packet, a firmware hiccup, or a sensor battery that’s run low. Here’s how to keep the safety net in place:
- Enable push notifications for “device offline” alerts. A quick glance at your phone tells you if a sensor has gone dark.
- Keep a spare AA battery on hand for each remote sensor. Swapping it takes less than a minute and avoids a month‑long blind spot.
- Register your installation with the vendor’s support portal. That way you get proactive maintenance reminders and can request a remote health check.
Our own team at Smart Citizens offers a managed‑monitoring package that watches the health of every node and contacts you before a problem becomes a bill‑shocker.
Quick sanity‑check before you call it done
• Does the dashboard show a stable baseline after the first week of operation?
• Are all sensors reporting within ±0.5 °C of a handheld thermometer?
• Do occupancy‑based setpoints kick in as expected when you leave the house?
If you can answer “yes” to all three, you’ve turned a good install into a great, money‑saving system.
Remember, the goal isn’t just to cool a space – it’s to do it intelligently, sustainably, and with as little manual tweaking as possible. A tiny adjustment today can translate into thousands of dirhams saved over the life of the equipment.
And when the numbers start adding up, you’ll feel that extra peace of mind knowing your home or office is running at peak efficiency, all thanks to a well‑tuned automated smart thermostat integration Dubai.
Conclusion
You’ve just walked through everything from a quick sanity‑check to fine‑tuning AI‑driven schedules, all aimed at one thing: getting the most out of automated smart thermostat integration Dubai.
So, what’s the bottom line? A well‑planned install, the right thermostat, and a little ongoing attention turn a fancy gadget into real money‑saving comfort.
Here’s what you should remember:
- ✔️ Verify sensor placement – shaded wall, no drafts.
- ✔️ Keep the C‑wire or a dedicated 24 V transformer in place.
- ✔️ Use occupancy or motion data to let temps drift when rooms are empty.
- ✔️ Review energy reports weekly and tweak set‑points by 1 °C if bills spike.
- ✔️ Schedule a quarterly health check with a certified installer.
Feel like you’re ready to take the next step, but not sure where to start?
Grab the free installation guide, book a site survey with Smart Citizens, and let the experts fine‑tune the system so you start seeing savings within days.
Remember, the climate here doesn’t wait for you to figure things out. A small adjustment—like nudging the night‑time set‑point up two degrees—can shave several hundred dirhams from your bill every summer. Keep an eye on the dashboard, trust the data, and let the automation do the heavy lifting. When everything runs smoothly, you’ll notice the comfort first, the savings second.
FAQ
What exactly is automated smart thermostat integration Dubai and how does it work?
In plain English, it’s a set‑up where a Wi‑Fi‑enabled thermostat talks to your HVAC, a central hub and—if you like—your phone or voice assistant. Sensors feed temperature and occupancy data, the AI learns when rooms are used, and the system nudges set‑points up or down automatically. The result is a climate that follows your routine without you having to lift a finger.
How much can I realistically save on my electricity bill?
Most homeowners in Dubai see a 15 %‑30 % dip in cooling costs after the first month, according to field data we’ve gathered. The exact number depends on house size, how many zones you have and whether you keep the night‑time set‑point a couple of degrees higher. Even a modest 1 °C tweak can shave a few hundred dirhams off a typical summer bill.
Do I need a dedicated C‑wire, or can I rely on power‑stealing technology?
If your thermostat can draw power from the HVAC’s existing wiring, you might get away without a C‑wire, but we’ve seen intermittent connectivity in a few Dubai villas when the line is weak. Adding a low‑voltage 24 V transformer guarantees a steady supply and eliminates those random drops—plus it gives you a clean backup for future upgrades.
Can I control the thermostat with Google Home or Alexa?
Absolutely. Both Nest and Ecobee, the models we frequently recommend, have native integrations with Google Assistant and Amazon Alexa. Once linked, you can say things like “Set the living room to 24 degrees” and the system will also trigger related scenes—blinds, fans or lights—so the whole space adjusts in harmony.
How often should I review and fine‑tune my schedules?
We suggest a quick sanity‑check every month for the first three months, then a quarterly review. Look at the energy dashboard, spot any spikes that don’t match occupancy, and adjust the drift temperature by 1 °C if you notice a rise in usage. A brief tweak now prevents a bigger bill later, especially during the peak summer months.
What post‑install support does Smart Citizens provide?
After we finish the wiring and configuration, we keep an eye on your system through a managed‑monitoring service. You’ll get automated alerts if a sensor goes offline, a yearly firmware update reminder and a free health‑check visit every six months. If anything feels off, just tap the app to request a remote diagnostics session or schedule a technician on‑site.